Best Gluten-Free Sourdough Bread


The holy grail in bread-making is sourdough bread. I have reached the mountain top with my Bavarian-inspired 70% sourdough rye. However, until yesterday, I failed in many attempts at a decent gluten-free sourdough bread.
One recipe which I stuck with for many years had to be burned to a crisp at 425F for almost 2 hours to taste ok (less gummy). I thought the high temperature was a typo, but baking at 325F only yielded a gummy bread with a decent flavor but CC#2 turn up her nose. There is also the issue of making a bubbly gluten-free sourdough starter. The rise is much smaller and the smell of starter is not nearly as pleasant as the tanginess which is the hallmark of sourdough bread.
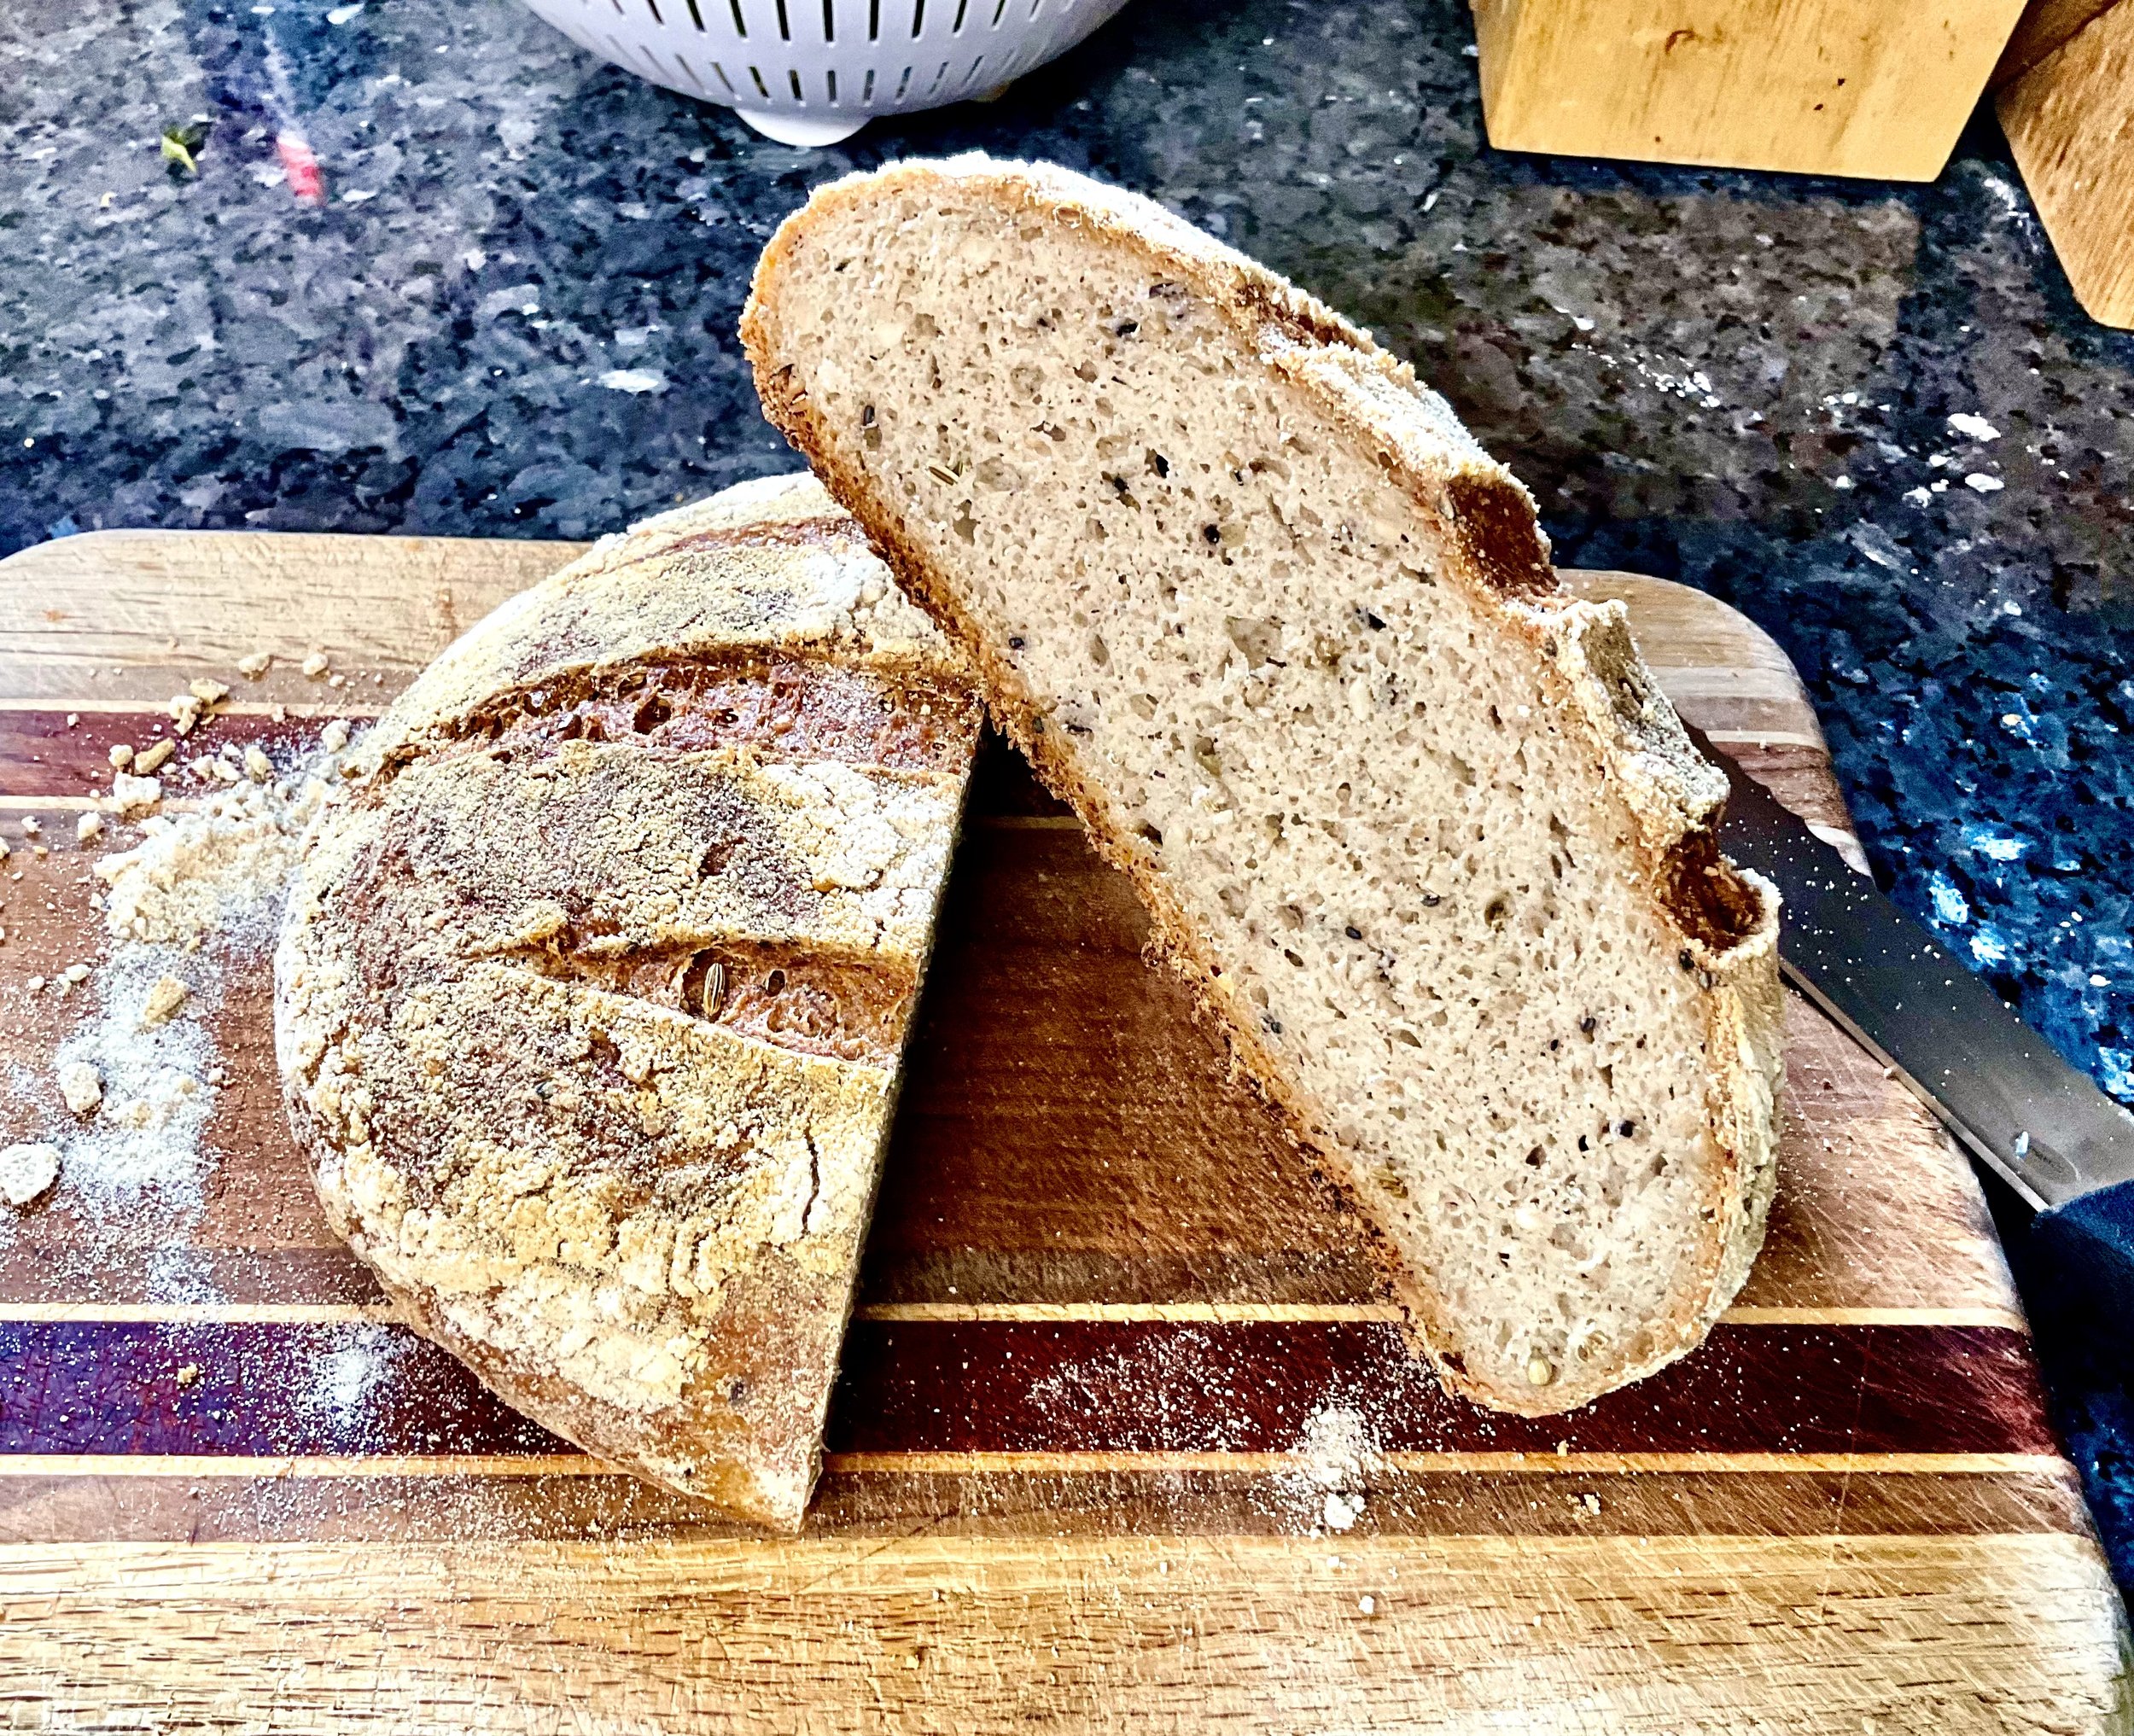
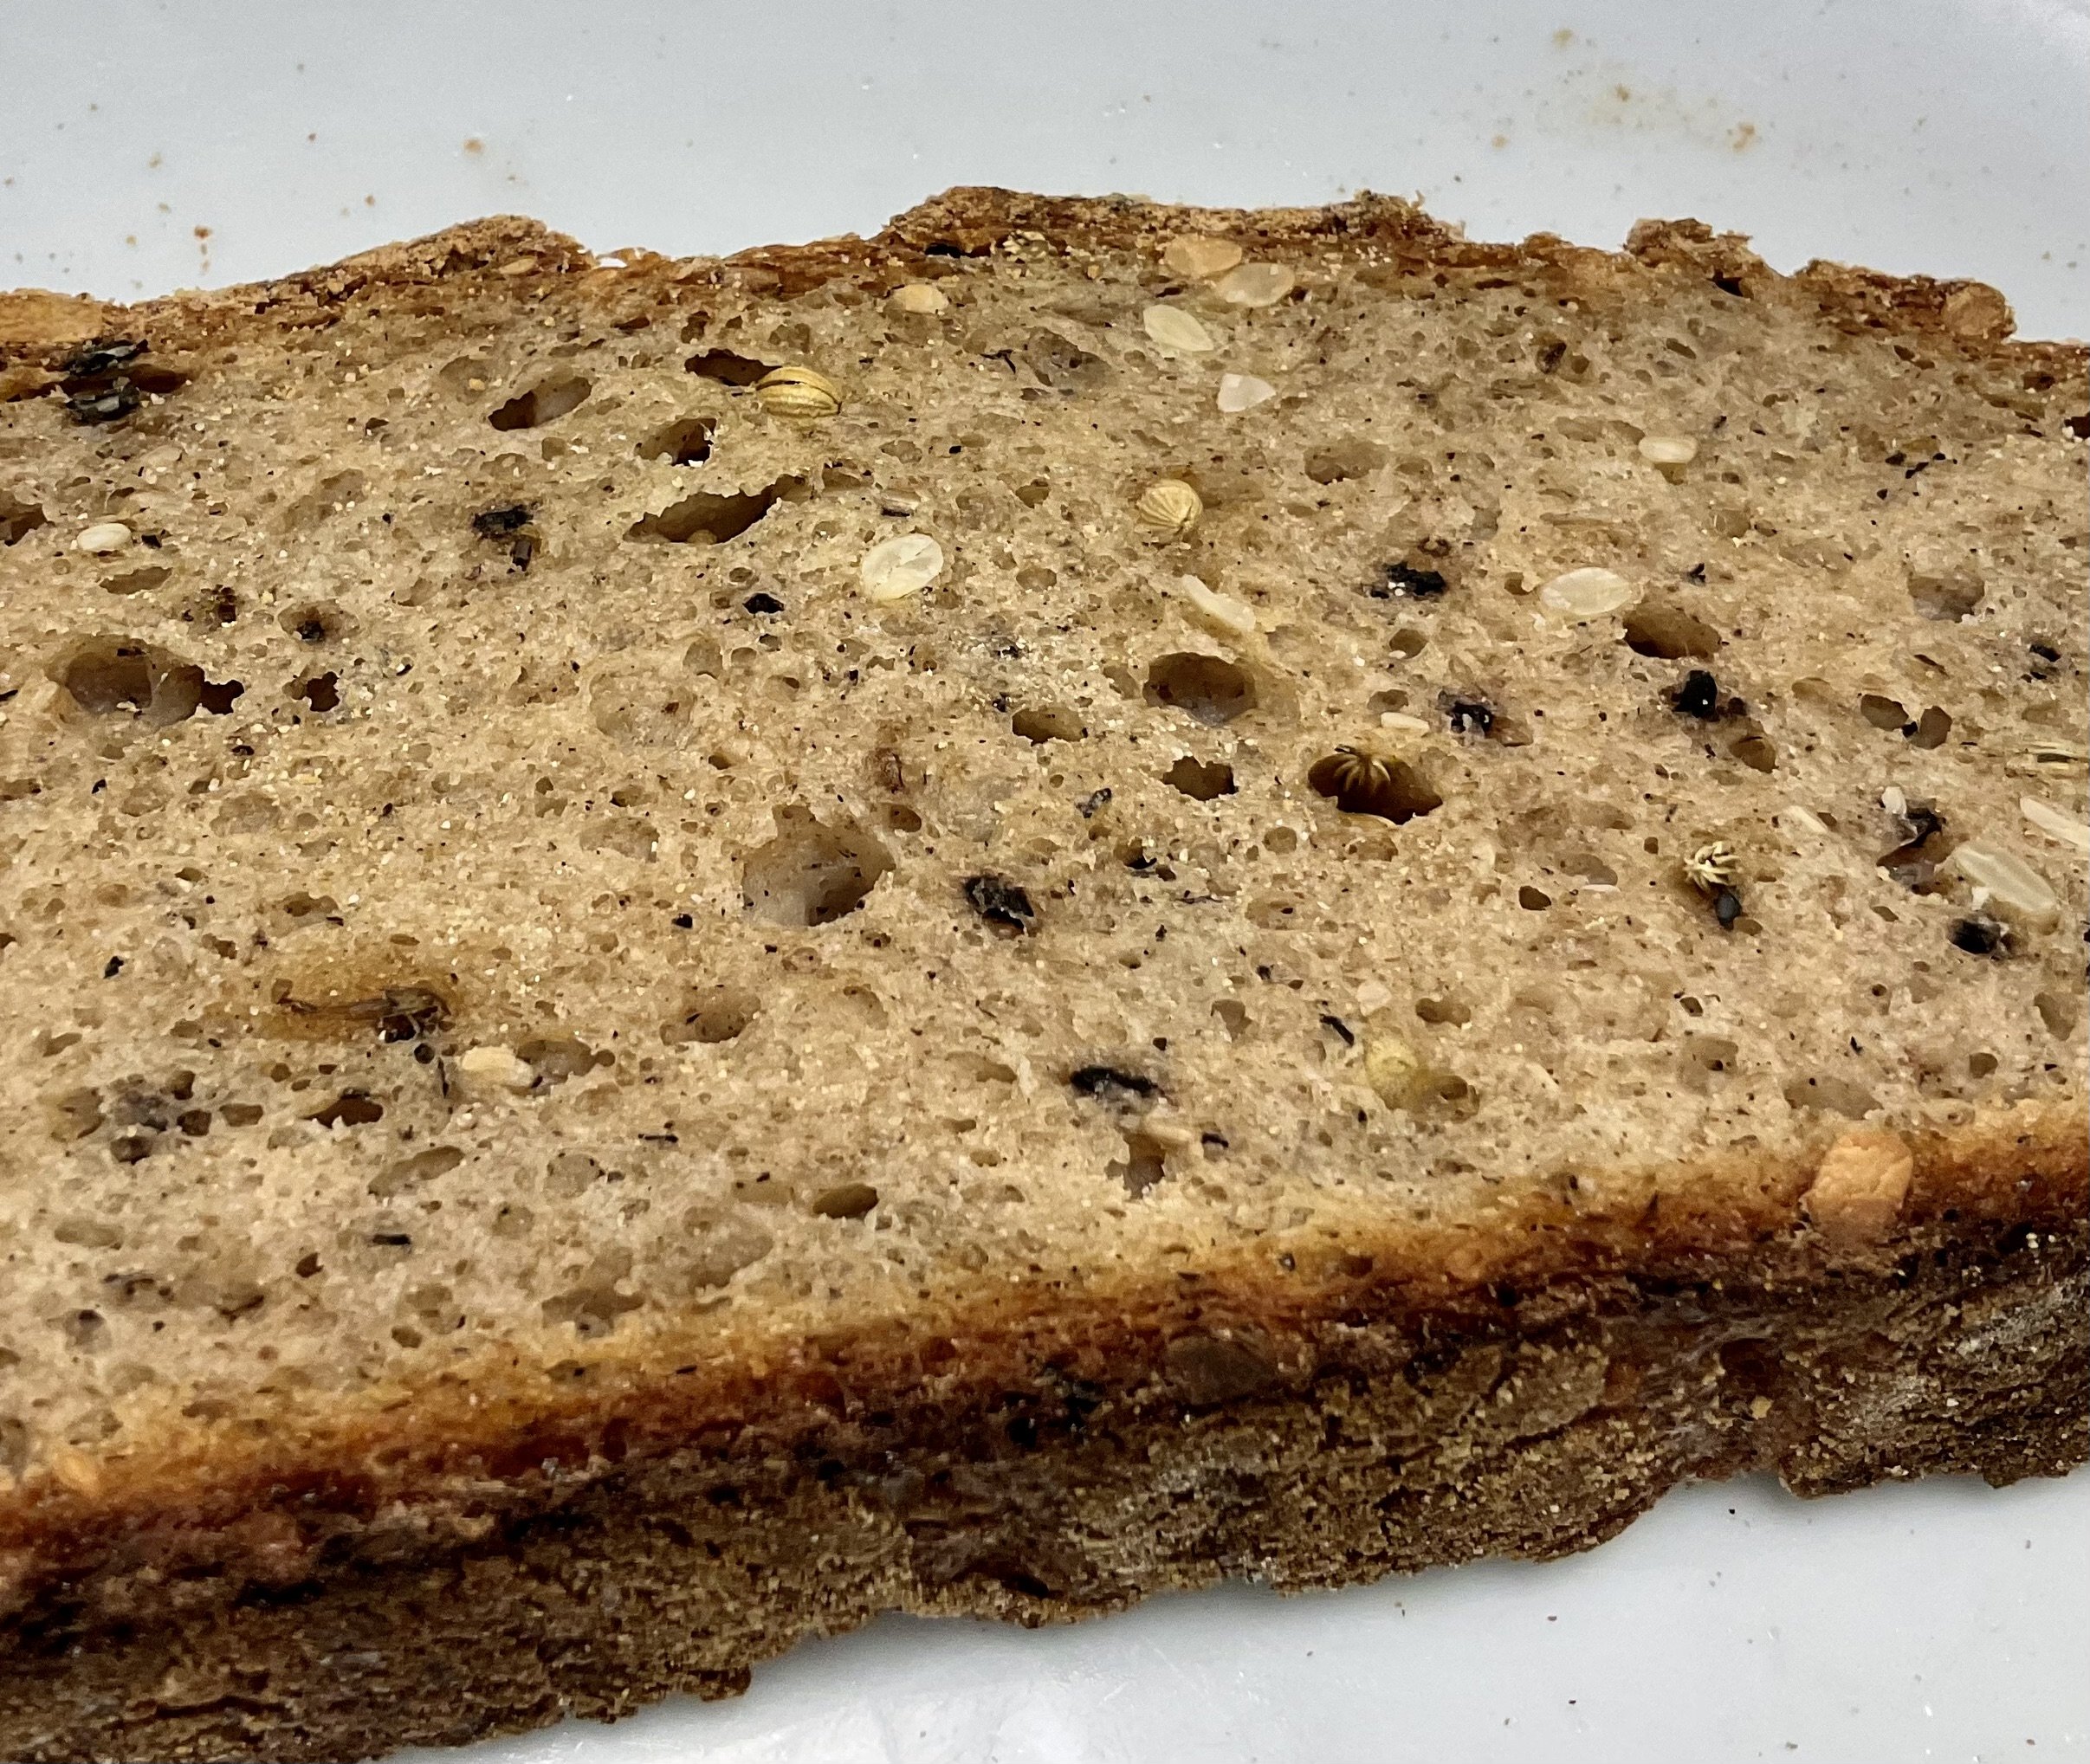
CC#1 is waded much deeper in GF sourdough starters and introduced me to a Facebook group devoted to GF sourdough bread. I learned 1) to temper my expectation on how high the starter rises (only twice as much), and 2) feed the starter twice a day and use the starter at its peak (about 3-4 hours after feeding). Most importantly, the online discussions let me to the “Best Gluten-Free Sourdough Bread” recipe that really WORKED! I made almost no changes or adjustments, and the result is a crusty and chewy sourdough bread worth eating. CC#2 approves!
GF Sourdough Starter and Sponge:
Starter:
Add 20g brown rice flour, 30g buckwheat flour, 60g water to about 50-60g old starter every 8 hours
See this recipe for more precise instructions
Sourdough discard can be blended with 1 banana and 1 egg to make delicious pancakes
Sponge/Preferment:
Combine 150 active GF sourdough starter at its peak, 100g water, and 80g GF flour mix (30g brown rice, 25g buckwheat, 25g millet) to form dough
Cover and let sponge sit at room temperature for up to 18 hours. Longer time promotes sourness
Bread Making:
Mix 20g honey with 300g room temperature water until honey is well dispersed
Add 20g psyllium husk, 15g oil (canola or olive), 12g salt, and 1 tsp of apple cider vinegar to honey water, and let stand for 10-15 minutes
Add the following GF flours into your KitchenAid Mixer bowl: 80g potato starch, 60g tapioca starch, 80 sorghum flour, and 80g brown rice flour
Using dough hook, mix GF flour blend with psyllium husk mix (gel like consistency) and sourdough sponge for 3 minutes until dough is formed. Optional: herbs, nuts, and seeds can be added now. I added a little more brown rice flour at the end to get somewhat wet dough out
Knead dough by inserting hand down from edge of bowl and pull dough up from the bottom (like a regular crusty bread dough), rotating to round up the entire bowl so that you end up with a smooth side on top and a seemed side at the bottom
Line a medium small shallow bowl with kitchen towel, sprinkle bowl portion of the towel generously with brown rice flour, and place the dough smooth side down, fold the rest of the towel over the dough
Keep dough in refrigerator for 15-18 hours. My dough hardly rose during this proofing process
Bring out the dough to room temperature about 4-5 hours before baking so that the dough will have a chance to rise. Mine did expand sideways but the rise was not nearly as obviously as regular bread dough.
Preheat oven to 425F with a cast iron pot (see my blog on regular sourdough bread for what I consider to be the best bread pan) with the lid on for about 20 minutes after the proper temp is reached
Open the kitchen towel so dough is fully exposed, place a large parchment paper over the bowl, then place a large dinner plate on top of the parchment paper, and flip the bowl onto the plate so that the dough sits on the place with paper underneath
Score the dough
Remove the lid from the very hot cast iron, gently load the dough into the pot by lifting both long sides of the parchment paper, and close the lid
Bake at 425F for 45 minutes, remove the lid and continue to bake for 30-40 minutes